 2010 Daily Journal Page Challenge -- Day 246: Working It
.jpg)
Tuesday, November 30, 2010
2010 Daily Journal Page Challenge...Day 246
2010 Daily Journal Page Challenge -- Day 246: Working It2010 Daily Journal Page Challenge...Day 245
 2010 Daily Journal Page Challenge -- Day 245: She Wasn't Sure
2010 Daily Journal Page Challenge...Day 244
 2010 Daily Journal Page Challenge -- Day 244: She Dreamt of Designer Sheaths
2010 Daily Journal Page Challenge...Day 243
 2010 Daily Journal Page Challenge -- Day 243: Waiting for Inspiration
2010 Daily Journal Page Challenge...Day 242
 2010 Daily Journal Page Challenge -- Day 242: Full On Feminine
2010 Daily Journal Page Challenge...Day 241
 2010 Daily Journal Page Challenge -- Day 241: The Cleopatra It Deserves
Collage Cafe on November 13th
 Barry's Show and Tell
 Judy's Pocket Spread
 Judy's Completed Spread
2010 Daily Journal Page Challenge...Day 240
 2010 Daily Journal Page Challenge -- Day 240: Saint Jimmy
2010 Daily Journal Page Challenge...Day 238
 2010 Daily Journal Page Challenge -- Day 238: Get Caught Looking
2010 Daily Journal Page Challenge...Day 237
 2010 Daily Journal Page Challenge -- Day 237: What to Serve with Cocktails
Monday, November 29, 2010
2010 Daily Journal Page Challenge...Day 236
 2010 Daily Journal Page Challenge -- Day 236: Ginger Cat moon
2010 Daily Journal Page Challenge...Day 235
 2010 Daily Journal Page Challenge -- Day 235: Nobody Is Going to Rain on My Parade
2010 Daily Journal Page Challenge...Day 234
 2010 Daily Journal Page Challenge -- Day 234: Don't Try to Make Sense of This
2010 Daily Journal Page Challenge...Day 233
 2010 Daily Journal Page Challenge -- Day 233: Or Something Better?
2010 Daily Journal Page Challenge...Day 231
 2010 Daily Journal Page Challenge -- Day 231: Stay Off Balance
Altered Book Techniques: Tip-Ins
 Tip-In: Greeting Card & Masking Tape (Front Side)
 Tip-In: Using Masking Tape (Back of Card)
 Tip-In: Between Two Ripped Pages (Front)
 Tip-In: Greeting Card Between Two Ripped Book Pages (Back)
Friday, November 26, 2010
2010 Daily Journal Page Challenge...Day 230
 2010 Daily Journal Page Challenge -- Day 230: Analyze This!
2010 Daily Journal Page Challenge...Day 229
 2010 Daily Journal Page Challenge -- Day 229: Listen to the Music
2010 Daily Journal Page Challenge...Day 228
 2010 Daily Journal Page Challenge -- Day 228 A Force of Nature
2010 Daily Journal Page Challenge...Day 227
 2010 Daily Journal Page Challenge -- Day 227: Question Your Perceptions Two (Too?)
Express Yourself! at Once Around
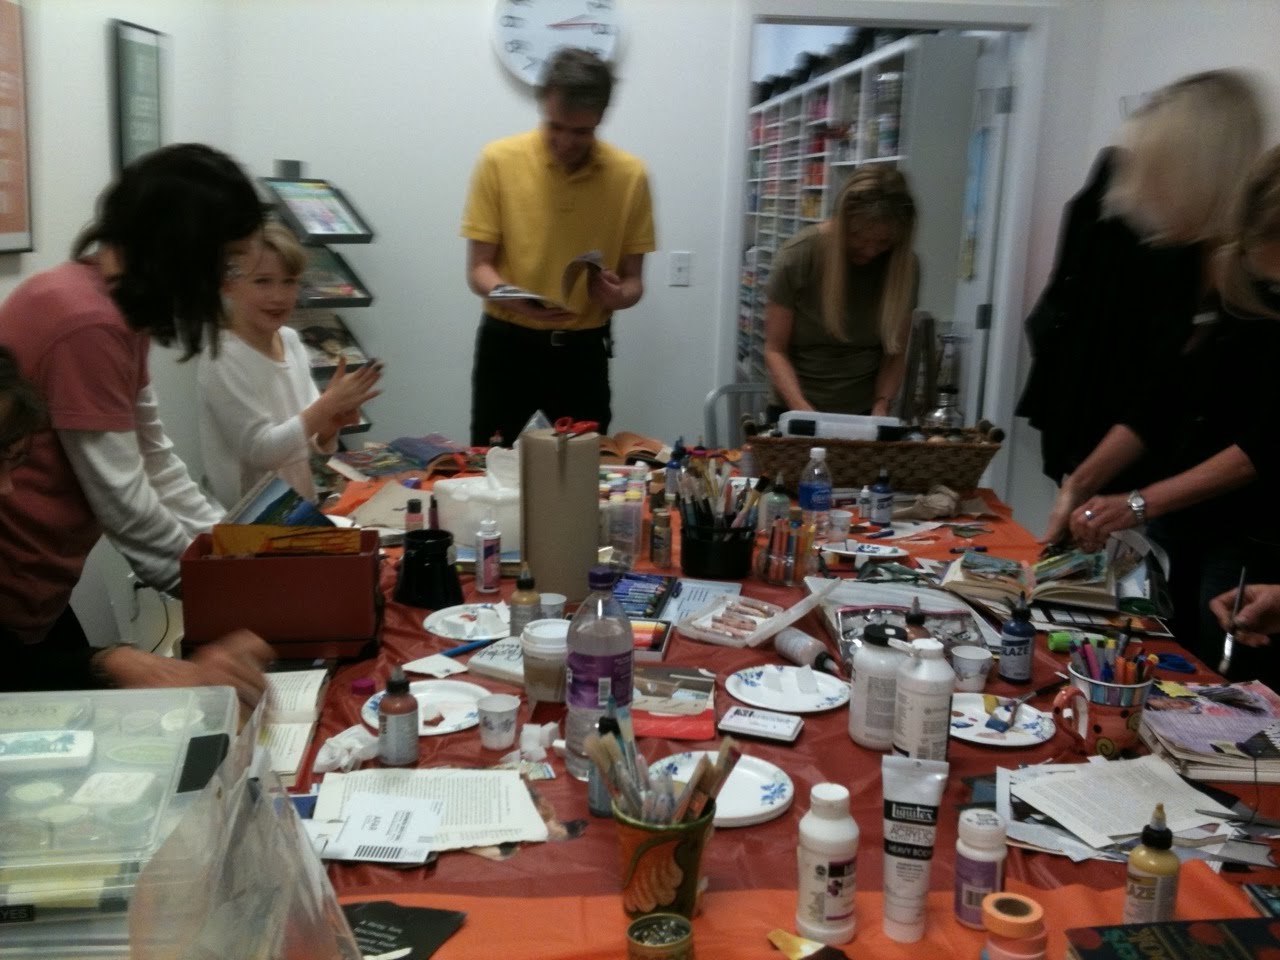 Busy Altering Books at Once Around
 Sam at Work!
 Sam's Piece Close Up
2010 Daily Journal Page Challenge...Day 226
 2010 Daily Journal Page Challenge -- Day 226: Question Your Perceptions
2010 Daily Journal Page Challenge...Day 225
 2010 Daily Journal Page Challenge -- Day 225: At Your Fingertips
Wednesday, November 24, 2010
2010 Daily Journal Page Challenge...Day 224
 2010 Daily Journal Page Challenge -- Day 224: Meet the Future
Wednesday, November 17, 2010
2010 Daily Journal Page Challenge...Day 223
 2010 Daily Journal Page Challenge -- Day 223: Soul-Soothing
Tuesday, November 16, 2010
2010 Daily Journal Page Challenge...Day 222
 2010 Daily Journal Page Challenge -- Day 222: Experience a Place
2010 Daily Journal Page Challenge...Day 221
 2010 Daily Journal Page Challenge -- Day 221: Let Your Muse Take Flight
2010 Daily Journal Page Challenge...Day 220
 2010 Daily Journal Page Challenge -- Day 220: A Jungian Encounter
Photo Manipulation: Tissue Paper Adhesion
 My Apologies to Angelina, Beautiquina
Friday, November 12, 2010
What a Month!

Opening night for "Under Cover" -- a Don't Quit Your Day Job dansicle I'm performing in for the next two weekends. I am in seven numbers -- SEVEN -- I can't believe I've made it (almost). The past month has been something out of Job's journey for me -- one obstacle after another. First getting sick with a flu virus from hell, then a lung infection that took me out of dancing for over 4 weeks. Major drugs that wiped out any endurance, memory, and motor ability that prevented me from remembering choreography, reduced me to a quivering mess of helplessness. Yukkk! The loss of a relationship that I don't think I'll ever get over. SOB! Major anxiety and wondering if I'd ever be healthy again. Then computer issues (aka pestilence) -- ants literally set up residence in my printer and my wireless router became the ant nursery!!!! No joke I lifted up my scanner bed one morning and it was like I was looking into an ant farm. Kind of fascinating in a very gross way. Unfortunately I had to replace both (I squished too many ants in my printer mechanism and I shook the router for hours and there was still egg larva pouring out of my router so I finally gave up on that). Now my DSL modem has been down for a week, resulting in even more of a delay in my posting my Daily Journal Pages and my experiments from the online courses I'm taking. I've been derelict in a million other ways. But in spite of a horrendous month, life continues...the show goes on...the spirit ressurects the body...and somewhere joy still exists. I'm living testimony of that -- ants, asthma, Alzheimer's -- I'm getting back on that horse!
Wednesday, November 10, 2010
2010 Daily Journal Page Challenge...Day 219
 2010 Daily Journal Page Challenge -- Day 219: The Magic of Our Emotions
2010 Daily Journal Page Challenge...Day 218
 2010 Daily Journal Page Challenge -- Day 218: Perfection
Photo Manipulation: Using China Markers
 Shut Out Does Not Mean Shut Down
 This is an experiment from an online course on photo manipulation (by hand) that I am taking. I took a photo from one of my trips to Mexico. Using a white china marker I blanked out the background in the lower portion of the gate. I like how it acts like a bit of wax paper covering a store front -- you can see something on the other side -- you just don't know what it is. Then I took a yellow china marker and colored in the middle section of the gate (originally white in color), then I took the red china marker and an orange waxy crayon and added more color the top and bottom portions of the gate. I went over everything with a graphite pencil (before adding color, and after), added the collage element last, blending the edges a bit with the white china marker.
2010 Daily Journal Page Challenge...Day 216
 2010 Daily Journal Page Challenge -- Day 216: See It and Create the Future
2010 Daily Journal Page Challenge...Day 215
 2010 Daily Journal Page Challenge -- Day 215: Invasion of the Alien Creatures
Wednesday, November 3, 2010
2010 Daily Journal Page Challenge...Day 214
 2010 Daily Journal Page Challenge -- Day 214: Wouldn't It Be Grand?

Monday, November 1, 2010
2010 Daily Journal Page Challenge...Day 211
 2010 Daily Journal Page Challenge -- Day 211: Steady as She Goes
Subscribe to:
Posts (Atom)